In this day and age, there are photographers around every corner, and as you jump on Google or in your local Facebook groups, there will be about a million and one who are thirsty for clients. Trust me, its crazy out there. (Don’t believe me? Try joining your nearest mom group and asking for a recommendation for a photographer. You will get about 50 photographers responding!). So…how do you choose?
Inevitably, you end up scrolling through everyone’s websites and looking for the cheapest one. (amiright?!)
I’ll be honest, I used to do the same thing. We all want to save a buck or two, right?
Now that I am actually a professional photographer, I recognize quality when I see it. And if I’m being even more honest, I am also really frugal (And lets be honest, contrary to popular belief, most photographers really do not make much money at all, ha! It’s a beautifully expensive habit!) . I nitpick my own images, and I don’t want to pay the price that I myself charge, ha!
Ok, so if you are like me, and hate spending a lot of money, but want some good quality photos, let me help you out.
You don’t need a fancy camera. I mean, don’t get me wrong, if you really DO want professional quality images, you will need one, HOWEVER, you CAN make some beautiful photos with your iphone. (I cannot speak for other cell phone brands because I have only ever had the iphone, aside from a super old Nokia phone from the early 2000’s, and we all know the quality of THOSE photos…)
Seeing that this isn’t a blog about an heirloom recipe created in the Alps from Great-Grandma’s kitchen, let’s move on to the actual information….
1. Lighting.
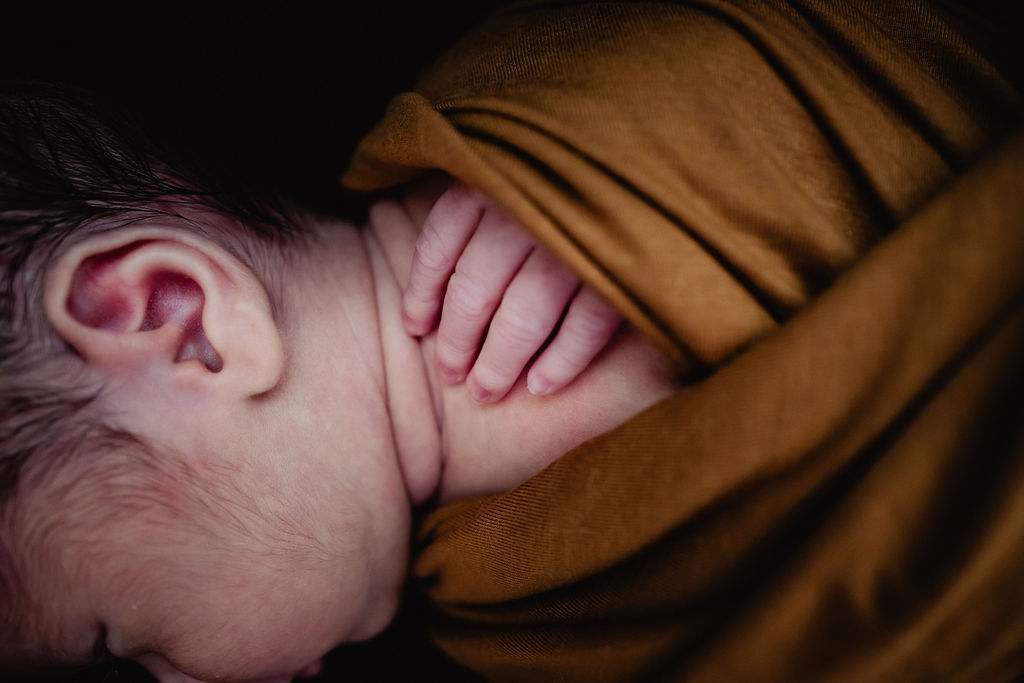
I cannot stress lighting enough. So here is what you are going to do. Walk around your house and find a window that is allowing light to come through it, but not direct, bright light. You can also find a room that is naturally well-lit. You don’t want baby to be blinded or washed out. Try to find a softer light–maybe a window where there is a ledge over it, or maybe a window where the sun is coming through, but the sun is at an angle so it isn’t coming DIRECTLY through, if that makes sense. Morning light is usually really nice, that or noon/early afternoon light. Then, turn off all the overhead lights/lamps/etc so you don’t get a mix of artificial light and natural sunlight.
2. Baby.
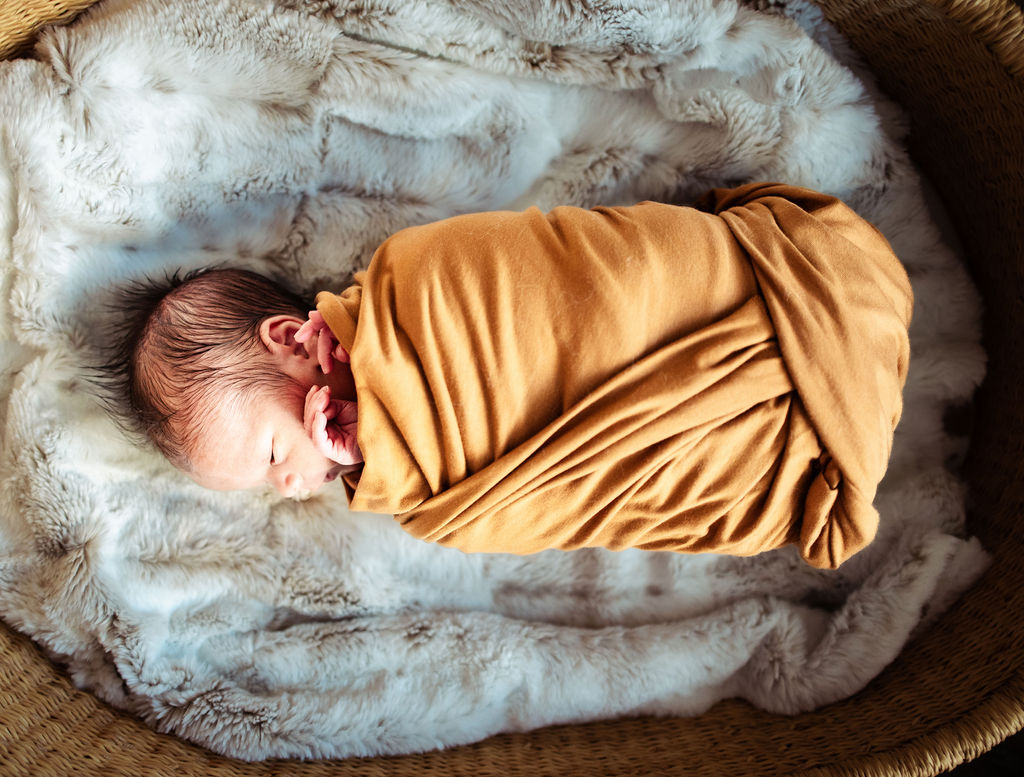
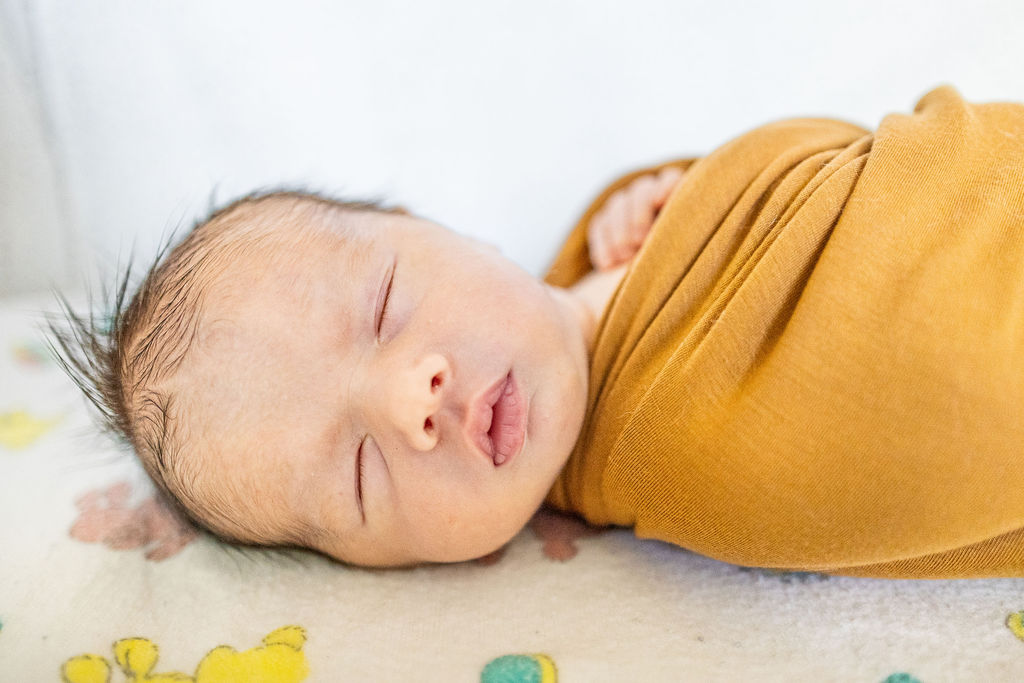
Obviously, you will need a baby to take photos of (or a dog, or a small child, whatever floats your boat!). The best age to take newborn photos is between 7-14 days old, because your newborn will still be young enough to sleep a lot, and still more pliable for wraps. You can either wrap baby up, or put baby in a cute outfit, whatever you desire! (Or, let baby hang out in the buff! Just know that you might have to wash your carpet afterwards! ha!). Check out Youtube for some cute free wrap tutorials. It also helps if your little one has just eaten, as they will be more sleepy.
3. Environment
You will want to make it so baby is nice and cozy and sleepy, as stated above, so try to also add in a shusher, eliminate loud/sudden noises, and keep the air nice and warm, but not so warm as to overheat your baby. I would say if you are wrapping baby, keep your temperature normal, but if baby is going to be naked, you will want the temperature closer to 80 degrees.
4. Placement
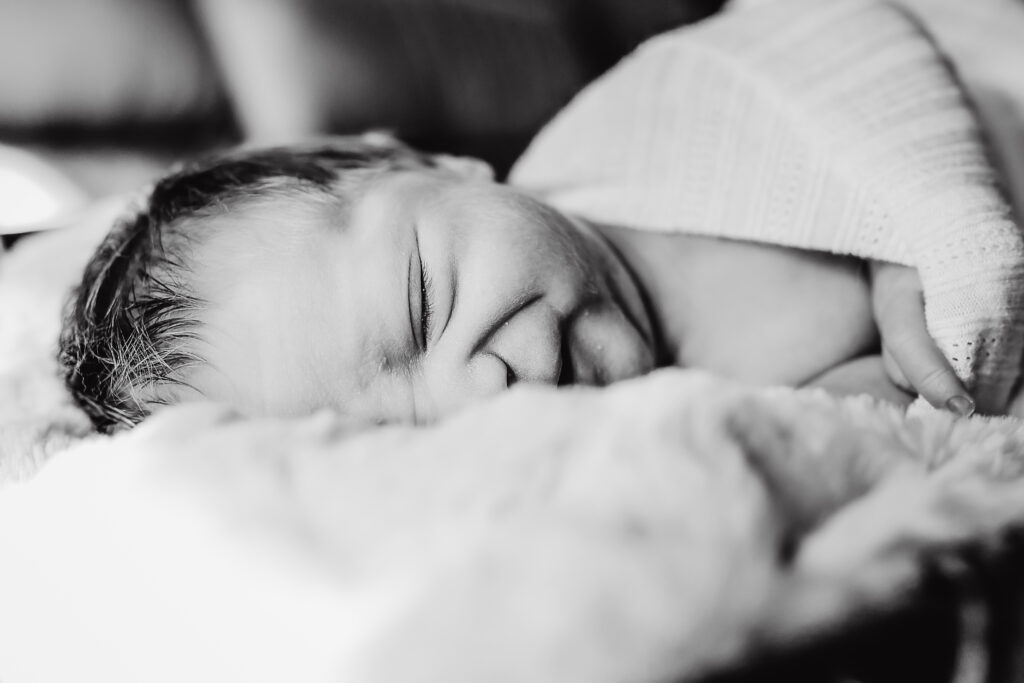
Ok, now its time to take pictures. Place baby under the window, but pay attention to where the light is hitting your little one. You don’t want the light to be going up their nose. You want the light to gently brush the side of their face, or to fall from the head down. See these really useful tips on the six main lighting styles to get some ideas of how you want the light to fall on your baby.
5. Camera/Iphone Settings
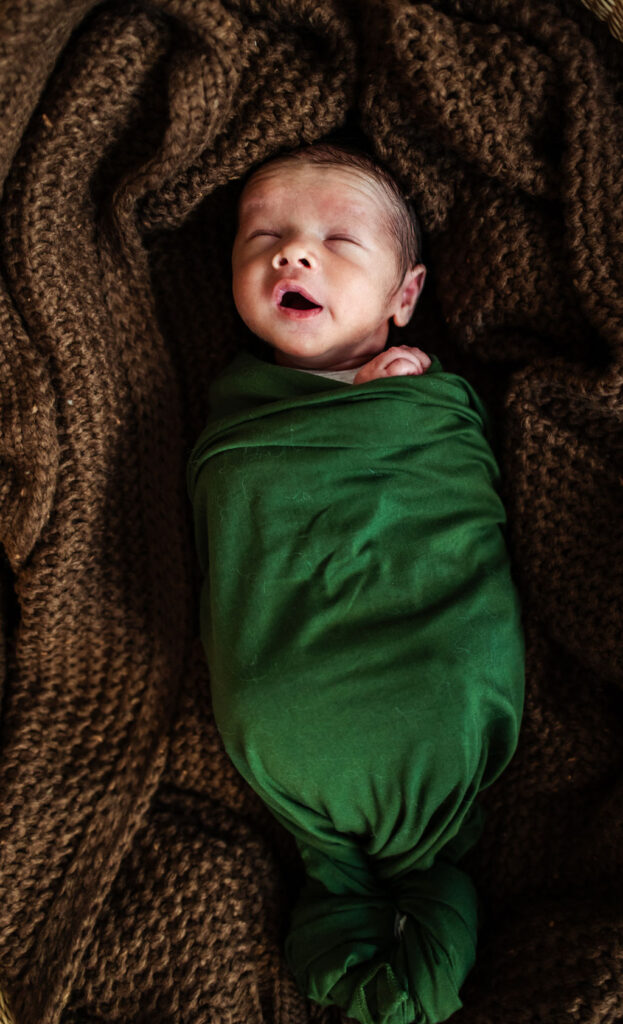
Before you start taking photos, check the settings on your IPhone. I would 100% use the Portrait mode, as this will provide background blur to your images and make them look a little more polished. If you want to get wild, put your IPhone on RAW mode, and that way you can edit your photos a little more professionally. You can even download Lightroom onto your phone, if you want to try out professional editing software that is user-friendly and widely favorited by most photographers.
6. Taking the Photos
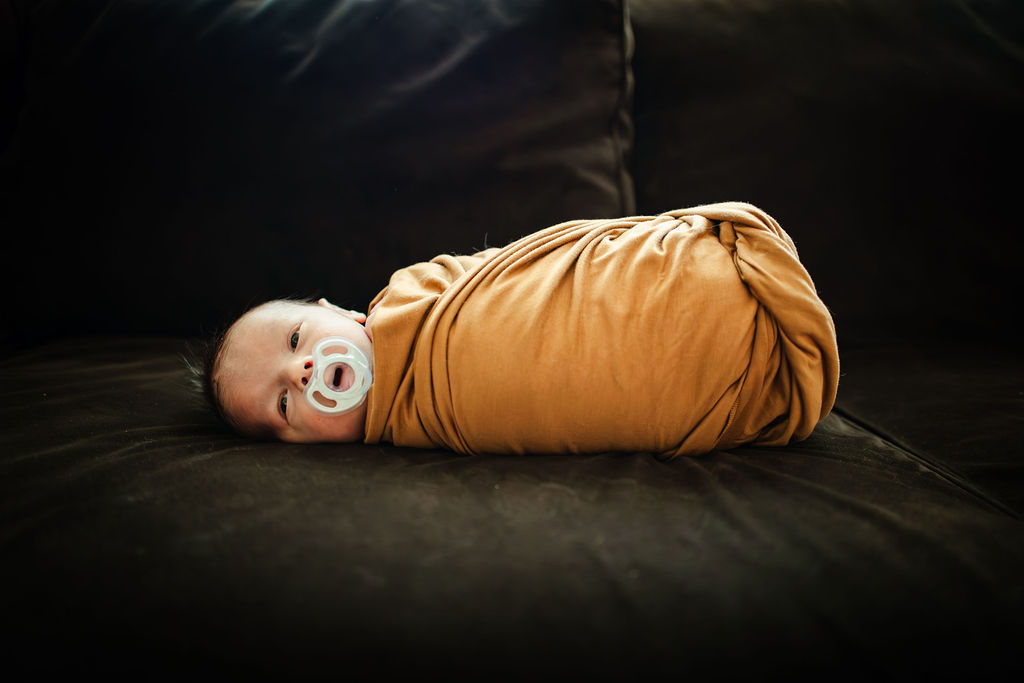
Try moving around your baby and getting different angles. Focus in on their eyelashes, their hands, their toes. Get full body shots, close-ups on the face, their hair, belly button, etc. Explore different angles. Look up composition techniques for some ideas on how to best frame your images.

7. Editing
Now that you are done, did you know that you can edit photos on your phone? Crazy, right?! Editing is every photographer’s bread and butter. Besides knowing composition, how to work their massive cameras, etc, photographers spend HOURS, even months, honing in on their editing styles. Now that you have some of your OWN photos to play with, click on “edit photo” in your phone and scroll through all the different options that can change the way your photo looks. No, it isn’t putting a filter on your picture, its actual editing work, where each individual element (like contrast, warmth, saturation, tint, etc) is adjusted to get the kind of look you are going for. This part is really fun, because you start to see your photo really come to life. And since you are doing it yourself, you can be as picky as you want! Iphones don’t have all the same editing capabilities as a professional editing program, but you really can do quite a lot!
8. Print your photos!!
Easy peasy, right? And it doesn’t matter if they aren’t perfect. The best pictures are the ones that were taken!! Just please, please, for the love, do not order those photos on Walgreens. Love them to death, especially when I need to pick up a prescription, but please let me direct you to some better places. And that’s it!! Enjoy!!
*Note: All photos in this post were taken with a professional camera. <3. I told you, I’m picky!! 😉
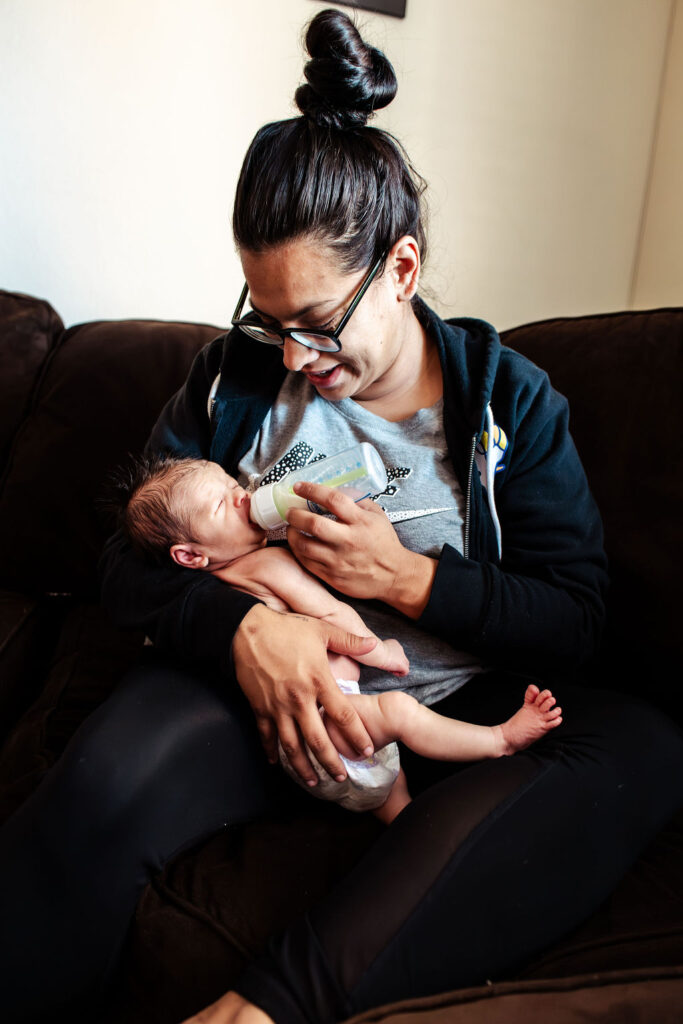
Tips on How to Take Newborn Photos with Your IPhone | Modesto Birth and Newborn Photographer
Nov 16, 2023

Leave a Reply Cancel reply
©template by Birdesign. photos: SHAYNA COX. Headshot: Marielle Hayes Photography. Serving Modesto, ca & Surrounding cities. Certified & Insured. Logo: The BLK Creative
MODESTO, CA AND SURROUNDING CITIES
website privacy policy
Website terms and conditions